Posts

Showing posts from December, 2017

Async image load test with gh-pages
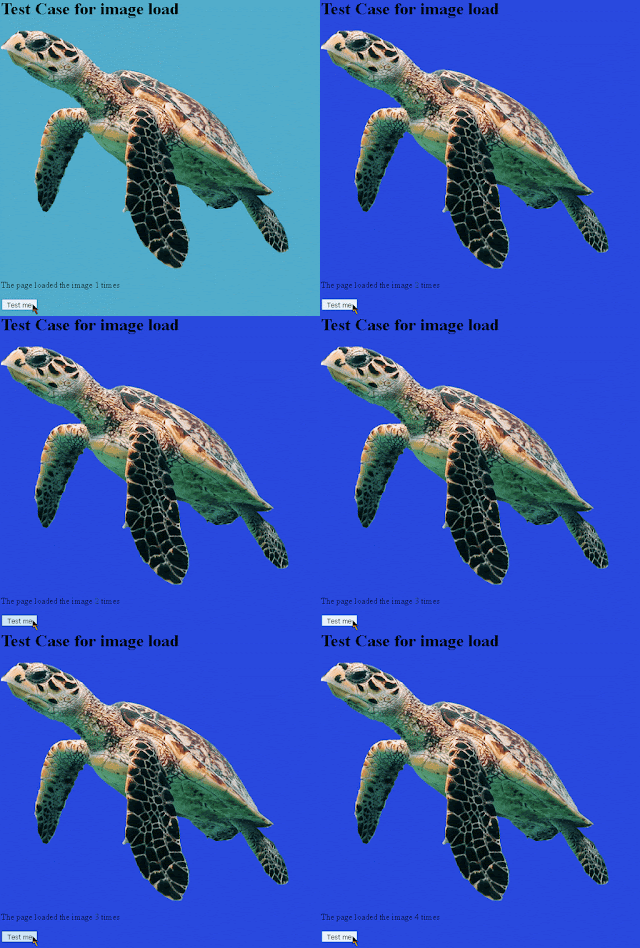
Image
I finally got the opportunity to try out GitHub Pages. GitHub Pages is a simple static HTML page that we can create from our GitHub repositories. It is perfect for documentation or anything related to the project. To get started, a gh-pages branch must first be created, and then it can be further setup in the settings section. For this project, I wrote a test case for async image loading. I built a simple page that would allow me to test this in multiple browsers. The page is very simple with an image, a counter, and a button to reload the image. As the user clicks the button, the image is reloaded. If the image is reloaded, the background changes colours and the counter is updated. The async testing has passed on all the browsers except for Safari. I decided to dig deeper into this and Safari is like this. I had to dig pretty deep into the webkit source files to see where the load event is fired. After digging around for a little bit, I found the ImageLoader.cpp file. The na

Learning Proper Documentation

Image
Earlier this week I finally finished my JavaScript Node.js package . I finished all the coding and testing, and thought to myself "Okay great job, on to the next project." However there was one thing left to do: documentation. I know the value of good documentation because I've worked with a few large projects in the past. After coming back to a project after a month or two without any documentation, the code can seem very alien to you, as if it wasn't even you that wrote it. I typically try commenting most of my code, however my set-up instructions, project descriptions, and generally my ReadMe file has never been up to par. This project has taught me how to write a cleaner, better looking read me. GitHub has detailed instructions for creating good documentation that I've been following. It specifies the order and content that a ReadMe generally follows: project name, description, table of contents, installation, usage, contributing, credits, and license. The

Setting up a complete CI Solution for a project

Image
With this lab, I continued working on my library that I created. Although originally my library was pure JavaScript/HTML, I changed it over to Node for some new experience. This required me to modify some of my functions. This lab has taught me how to set a continuous integrated environment. In simpler words, continuous integration is a process of automating the build and testing of code for every new commit. My first experience with automated code testing came as I pushed first bug fix, I received a message saying my code didn't get accepted because Travis CI build failed. This time, I got to set up my entire build and test process. There are a few files that are needed for a continuous integration process. The first thing needed was a way to tell TravisCI how to configure, build, and test my project. To do this, I created a .travis.yml file in my root folder, which holds the language used, as well as the appropriate versions. Next, I used the package.json file to auto